Getting Started with Azure API Management
A comprehensive guide on setting up and configuring Azure API Management, including backend definitions, schema validations, policies, and operations.
Understanding the Basics: What is an API?
API stands for “Application Programming Interface,” and it represents the technical bridge that allows different software programs to communicate with each other.
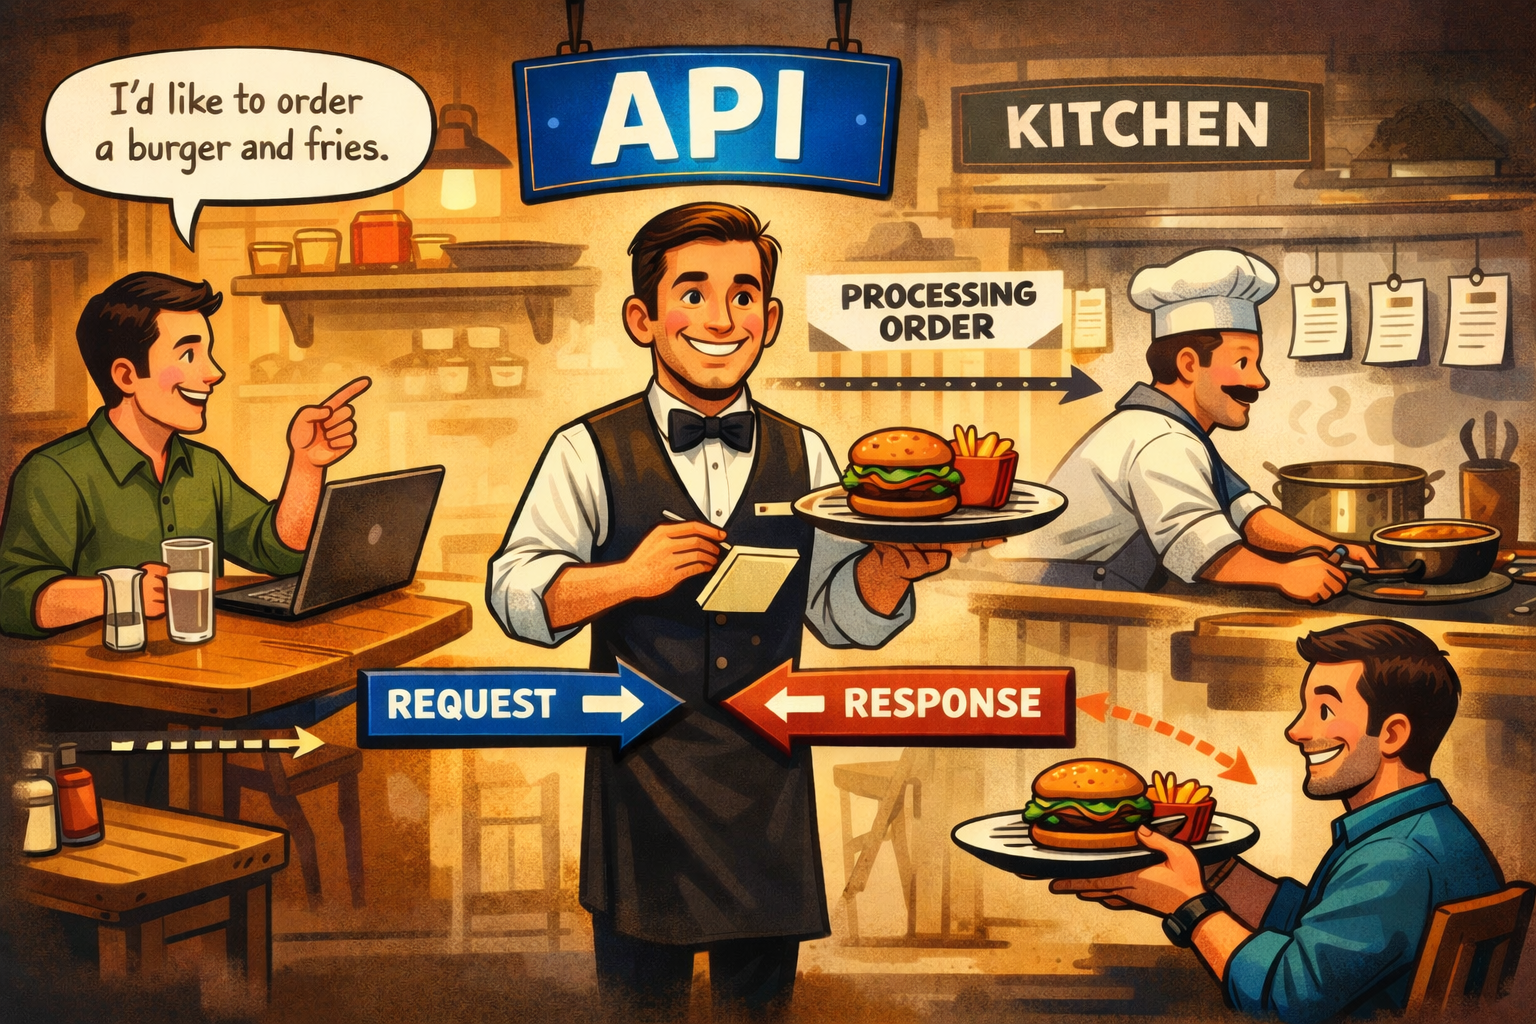 API Analogy.
A common and effective way to understand this is the restaurant analogy. Think of an API as a waiter in a restaurant. The customer (client) communicates with the waiter (API) to place an order. The waiter then takes this request to the kitchen (server) in a format the kitchen understands, retrieves the prepared food, and brings it back to the customer. The client doesn’t need to know how the food is cooked; it only needs to know how to ask the waiter for it.
Step 1: Defining the Backend
To add an API to Azure API Management (APIM), the first step is to define a backend. This tells the API exactly where it needs to communicate behind the scenes. In our example, we are using an App Service hosted on Azure.
By configuring the backend, APIM knows the base URL and the host it needs to forward the incoming client requests to.
Step 2: Configuring Schemas for Request Validation
The Schemas section is crucial for defining the expected format of incoming requests, determining which fields are required, and what data types should be used.
For instance, if a specific field expects a String but receives an Integer, the schema validation will catch this. When a request with an invalid payload arrives, it is blocked directly at the APIM level and is never forwarded to the backend. This is a critical security measure to prevent malformed or malicious requests from reaching your core services.
Schemas in APIM are typically defined in JSON format.
Validating requests at the API Gateway level significantly reduces unnecessary load on your backend services and hardens your security posture.
Step 3: Creating Products and Tags
Before formally adding your API, it’s a best practice to configure Products and Tags.
In APIM, a Product is a logical container that groups multiple APIs together. By grouping APIs into a single product, you can easily manage access, create comprehensive descriptions, and control the release state (e.g., setting it to “Published”). This makes it much easier to expose your APIs to developers via the Developer Portal.
Step 4: Adding the API (App Service)
Once your backend and products are ready, you can add the API itself.
- Navigate to APIs > Add API.
- Since our backend is an App Service, select the App Service option.
- Browse and select your specific App Service instance from your Azure subscription.
- Fill in the required fields such as the Display Name, Name, and API URL suffix.
- Assign the API to the Product you created in the previous step.
Step 5: Enabling Diagnostics Logs
After your API is created, you should configure monitoring. This usually involves enabling Diagnostics Logs and routing them to Application Insights.
By defining Application Insights as your logging destination, you can track API performance, catch errors, and monitor usage. You can also adjust the Log Verbosity level (e.g., Error, Information, Verbose) depending on how much detail you need.
API Configuration and Policies
Once the API is set up, you need to define its behavior. This is done through Policies, which dictate what APIM should check or modify before sending a request to the backend (Inbound Processing), and how it should alter the response before sending it back to the client (Outbound Processing).
Inbound Processing Policies
Inbound policies are executed the moment APIM receives a request. Here, we can validate parameters, check JWT tokens (such as those issued by Microsoft Entra ID), and verify audience claims.
Below is an example of a policy XML configuration. Notice how we use <validate-jwt> to ensure only authorized requests with valid tokens can pass through.
1
2
3
4
5
6
7
8
9
10
11
12
13
14
15
16
17
18
19
20
21
22
23
24
25
26
27
28
29
30
31
32
33
34
35
<policies>
    <inbound>
        <base />
        <set-backend-service backend-id="Backend-DealRecognizer-Prod" />
        <validate-jwt header-name="Authorization" failed-validation-httpcode="401" failed-validation-error-message="Not Authorized" require-expiration-time="true" require-scheme="Bearer" require-signed-tokens="true" clock-skew="300">
            <openid-config url="https://login.microsoftonline.com/common/v2.0/.well-known/openid-configuration" />
            <audiences>
                <audience>https://public-api.example.com</audience>
                <audience>https://apim-example.azure-api.net</audience>
            </audiences>
            <issuers>
                <issuer>https://sts.windows.net/YOUR_TENANT_ID/</issuer>
            </issuers>
            <required-claims>
                <claim name="sub" match="all" />
            </required-claims>
        </validate-jwt>

        <validate-parameters specified-parameter-action="prevent" unspecified-parameter-action="prevent" errors-variable-name="validationErrors">
            <headers specified-parameter-action="ignore" unspecified-parameter-action="ignore" />
        </validate-parameters>
    </inbound>

    <backend>
        <base />
    </backend>

    <outbound>
        <base />
    </outbound>

    <on-error>
        <base />
    </on-error>
</policies>
Note: Replace
YOUR_TENANT_IDand the audience URLs with your actual Microsoft Entra ID tenant information and API domains.
Operations and Endpoints
The final step is defining the Operations (Endpoints). This defines the specific paths and HTTP methods (GET, POST, PUT, DELETE) the client can use to interact with the backend via APIM.
For example, you might have a POST method for a send-to-inbox endpoint.
- Request Tab: Here, you define the expected format of the incoming request payload. In modern REST APIs, this is typically set to expect a JSON format.
- Responses Tab: This section defines what is returned to the client based on the outcome of the request. For instance, you can configure a
200 OKresponse to return specific description data confirming that the operation was successful.
By meticulously configuring your schemas, policies, and operations, you ensure that your API is secure, robust, and easy for clients to consume.